You can decorate a rental without losing your deposit by sticking to genuinely non-permanent updates: freestanding furniture, tension-rod window treatments, removable hooks rated for your wall type, and area rugs over bad flooring. The trap is the small set of "removable" products that actually pull paint and damage walls. RoomRewrite keeps a dedicated rental-friendly section covering exactly these categories, and this piece names both the winners and the products worth avoiding.
A quick note: RoomRewrite earns a small affiliate commission on some of the product links in this article, at no extra cost to you. Product recommendations are made on merit, and we only point to categories and retailers we would use ourselves. The ownership relationship is worth naming so you can weigh the advice with that context.
Why the deposit-loss fear runs so many rental decorating decisions
Most renters worry about the deposit because it is real money they have already handed over, sitting in someone else's account, waiting to be nibbled away by nail holes and scuffs. That fear is reasonable, and it quietly shapes every decorating choice you make. It is why so many rentals stay beige and bare long after the boxes are unpacked.
Here is the reframe worth holding onto. Non-permanent decorating is not a compromise or a workaround. It is a legitimate design approach in its own right, and RoomRewrite treats it that way with a whole rental-friendly section built around it. The goal is not to make your apartment look temporary. It is to make it feel like yours while leaving no trace behind. Those two things are not in conflict once you know which products cooperate. A community of 12,000-plus newsletter readers follows along as new rental-friendly ideas get published throughout the week.
Document your apartment first: the ten-minute step most renters skip
Before you buy a single thing, walk your apartment with your phone and photograph every wall, floor, and fixture. This is the step that protects you at move-out, and it takes about ten minutes.
Get close-ups of anything already damaged: existing nail holes, carpet stains, scuffed baseboards, a cracked tile. Timestamp them (most phones do this automatically) and email the photos to yourself so there is a dated record you did not create. If the landlord provided a move-in condition form, fill it out honestly and keep a copy. This costs nothing and settles arguments before they start. When you eventually pull a hook off a wall and worry about a faint mark, you will have proof of what the wall looked like before you ever touched it.
The ten non-permanent updates that actually work (with price ranges)
These ten updates work because each one relies on tension, weight, or a surface layer rather than anything that bonds permanently to the apartment. None of them ranks above the others; they solve different problems, so pick by what your space needs.
- Freestanding storage and shelving ($40 to $400). Bookcases, cube shelves, and rolling carts add storage without a single hole. They work because gravity does the holding, not the wall.
- Area rugs over bad flooring ($30 to $500). A large rug covers worn carpet or dated vinyl instantly. This works when the rug is big enough to anchor the room rather than float in the middle.
- Tension-rod window treatments ($15 to $120). Tension rods brace inside the window frame, so curtains and blinds go up with no drilling. They hold when the rod is sized correctly to the frame width.
- No-drill curtain rods ($20 to $90). For wider windows, adhesive or bracket-clamp rod mounts skip the wall anchors entirely and give you the tall, framed-window look renters usually can't have.
- Removable hooks rated for your wall type ($8 to $30). Adhesive hooks handle art, hats, and towels, and they anchor renter-friendly gallery walls. The condition that matters: the hook's weight rating must match your item, and the wall must be smooth and fully cured paint. If you want a step-by-step for building a damage-free gallery wall, our DIY Decorating Guides and Product Picks section walks through installing removable hardware safely.
- Peel-and-stick wallpaper on the right surface ($30 to $250). On a smooth, well-cured painted wall, quality peel-and-stick can transform a room and come off cleanly. On the wrong surface it does the opposite, which we cover below.
- Smart bulbs to fix ugly lighting ($10 to $50). Swap a harsh rental bulb for a warm, dimmable smart bulb. No rewiring, no electrician, and the original bulb goes back in a drawer for move-out.
- Freestanding room dividers ($60 to $400). In an open-plan studio, a folding screen or open shelf divider carves out zones without touching the structure.
- A freestanding or leaning headboard ($50 to $600). Leaning headboards and freestanding frames give a bed presence without bolting anything to the wall.
- Removable contact paper on countertops and shelves ($10 to $40). Contact paper covers a dated counter or lines ugly cabinet interiors, and it peels off surfaces that aren't porous painted drywall.
RoomRewrite's rental-friendly coverage sits inside a broader library of 500-plus room ideas spanning a $50 to $5,000 budget range, and the low end of that range is where most of these updates live. Size is genuinely no barrier here; a $50 refresh can change how a small room feels the moment you walk in.
Three popular renter-friendly products that quietly cause damage
Some products sold as "removable" damage walls anyway, and naming them is more useful than pretending the whole category is safe. Here are three worth real caution.
Caution: peel-and-stick wallpaper on textured or freshly painted walls
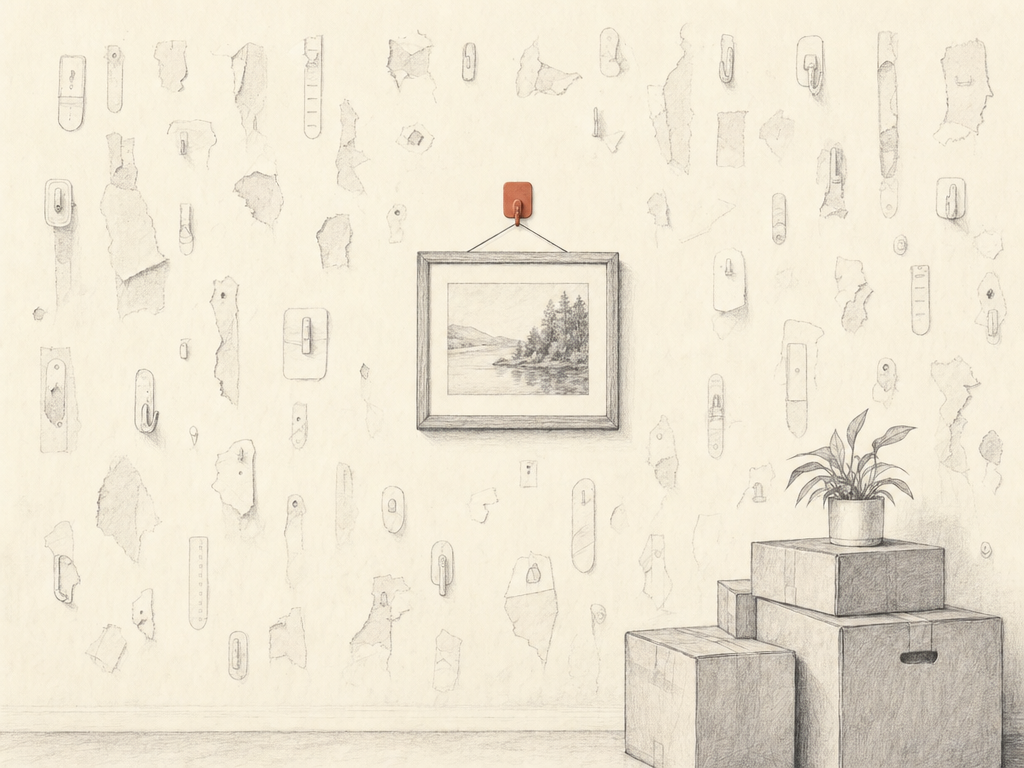
Peel-and-stick wallpaper on textured or freshly painted walls. This is the big one. On a smooth, fully cured wall it can peel off beautifully. But on textured walls, on freshly painted surfaces, or in older buildings with aging or cheaper paint, the adhesive can bond to the paint layer and take chunks of it with you on the way out. The product isn't lying about being removable; the wall underneath just doesn't always agree.
Caution: heavy-duty adhesive strips past their weight rating
Heavy-duty adhesive strips used past their weight rating. The strips themselves are fine when matched to the right load. The damage happens when someone hangs a heavy mirror on strips rated for a light frame, or forgets the slow-pull removal method and rips them straight off. That fast pull is what lifts paint.
Caution: adhesive vinyl tile on painted or delicate surfaces
Adhesive vinyl "peel-and-stick" tile on painted or delicate surfaces. Backsplash and floor tile stickers grip hard. On sealed, glossy surfaces they can release cleanly, but pressed onto flat painted drywall they can leave adhesive residue or peel the top layer. Test one tile in a hidden spot and try removing it before you commit to a whole wall.
The pattern across all three: the product is only as safe as the surface it touches. When the wall is textured, freshly painted, or in an older building, treat any strong adhesive as a gamble.
How to prioritize updates when your budget is under $200
Start with what bothers you most every day
With under $200, start with the update that fixes the thing you notice most every day. That is the honest rule, because there is no single best update for every apartment; the right first move depends on what bothers you when you walk in.
If harsh lighting is the problem, a couple of smart bulbs at $10 to $50 change the whole mood for very little. If the floor drags the room down, put the money toward one large area rug instead of several small pieces. If the walls feel blank, removable hooks and a small set of frames cost less than you think.
If you are not sure what your style even is yet, do not spend a dollar on removable products first. Look at real-home inspiration before you buy, so you are decorating toward something rather than guessing. Our Room Ideas and Style Inspiration coverage is built for exactly that moment, showing lived-in rooms rather than staged showrooms. Knowing you lean cozy-and-warm versus clean-and-simple will save you from returns and wasted budget.
How to remove everything cleanly when it is time to move out
When it is time to move out, work slowly and in reverse order, removing adhesives last and with heat, not force. That single habit prevents the move-out mishaps that come from ripping products off in a hurry.
For adhesive hooks and strips, warm the adhesive with a hair dryer for a few seconds, then pull the tab slowly and straight down along the wall, never outward. For peel-and-stick wallpaper, lift a corner and pull at a low angle, warming stubborn sections as you go. Fill any small nail holes with lightweight spackle, let it dry, and smooth it with a fingertip or a bit of sandpaper. Then compare the finished walls to those move-in photos you took. That comparison is your best friend at deposit time.
Where to start this week
This week, do the ten-minute documentation walk-through first, before anything else. Photograph every wall and floor, timestamp it, and email it to yourself. It costs nothing, it takes ten minutes, and it is the one step that protects everything you do next.
Once that record exists, pick the single update that bugs you most and tackle just that one. You do not have to transform the whole apartment in a weekend. You are more capable of this than the beige walls have led you to believe, and a rental can feel genuinely like home without a drill or a sacrificed deposit. New rental-friendly ideas go up throughout the week, and a community of 12,000-plus readers follows along.
New rental-friendly ideas, curated picks, and decorating guides, delivered to your inbox every week. Free, forever.